Introduction
Our team recently set out to integrate Backstage, and this is the first in a series of articles documenting that experience. This piece covers the installation process and basic setup, but first, let’s look at why we chose Backstage in the first place.
Why Backstage?
Backstage is an open platform for building developer portals, originally created by Spotify and now maintained under the Cloud Native Computing Foundation (CNCF). It gives teams a single, centralized place to manage services, tools, and documentation, letting developers discover, share, and collaborate on projects without hunting across a dozen different systems.
Our problem was simple: we had no centralized system to manage our diverse tools and documentation, which led to inefficiencies and missed opportunities for collaboration. Backstage looked like the ideal way to fix that and make it easier for the team to work together.
Installation
Local Setup
Installing Backstage locally was our first step, mainly to get a feel for its capabilities. We followed the official documentation and opted for Devbox for a smoother experience.
Read my complete Devbox article!
Related: Streamlining Development Workflows with Devbox: A Technical Dive
First, install Devbox
$ curl -fsSL https://get.jetify.com/devbox | bash
Prerequisites
- Access to a Unix-based operating system (Linux, macOS, or Windows Subsystem for Linux)
- A GNU-like build environment (e.g., make and build-essential packages for Debian/Ubuntu)
- Elevated rights for dependency installation
- curl or wget
- Node.js Active LTS Release (Node 20 recommended, via nvm or other methods)
- Yarn installation (Backstage uses Yarn 4.4.1)
- Docker
- Git
- Open ports 3000, 7007 if the system is not directly network-accessible
Devbox Initialization
Initialize your devbox workspace:
$ devbox init
Install necessary dependencies:
$ devbox add yarn-berry@4.4.1
$ devbox add nodejs@18.19.0
Enter the devbox workspace:
$ devbox shell
Verify package versions:
$ node --version && yarn --version

v20.9.0
4.4.1
Understanding Devbox
Adding packages to your devbox workspace generates two files: devbox.json and devbox.lock. The lock file lists every added package and is essential for replicating the environment elsewhere.
Example devbox.json content:
{
  "$schema": "https://raw.githubusercontent.com/jetify-com/devbox/0.13.7/.schema/devbox.schema.json",
  "packages": [
    "yarn-berry@4.4.1",
    "nodejs@20.9.0"
  ],
  "shell": {
    "init_hook": [
      "echo 'Welcome to devbox!' > /dev/null"
    ],
    "scripts": {
      "test": [
        "echo \"Error: no test specified\" && exit 1"
      ]
    }
  }
}
The shell section includes scripts like init_hook for a welcome message and a test script for running tests.
Installing Backstage
To install Backstage, make sure you’re inside your devbox shell workspace, then run:
$ npx @backstage/create-app@latest
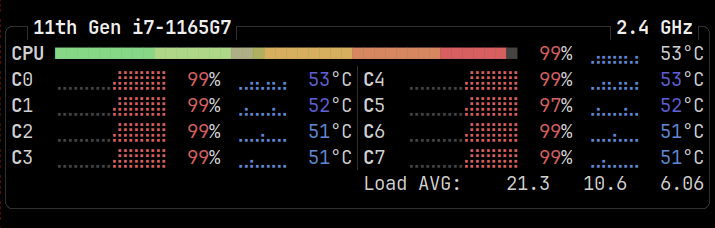
Name your app backstage-app when prompted. Installation can take a while, and so can your CPU fans.
Once the installation completes, you’ll see instructions for the next steps:
🥇 Successfully created backstage-app
Now you might want to:
 Run the app: cd backstage-app && yarn dev
 Set up the software catalog: https://backstage.io/docs/features/software-catalog/configuration
 Add authentication: https://backstage.io/docs/auth/
To run the app:
$ cd backstage-app && NODE_OPTIONS="--no-node-snapshot" yarn dev
Why NODE_OPTIONS="--no-node-snapshot"?
This flag is required for Node 20 and later to use the templates feature, as recommended by the Backstage documentation.
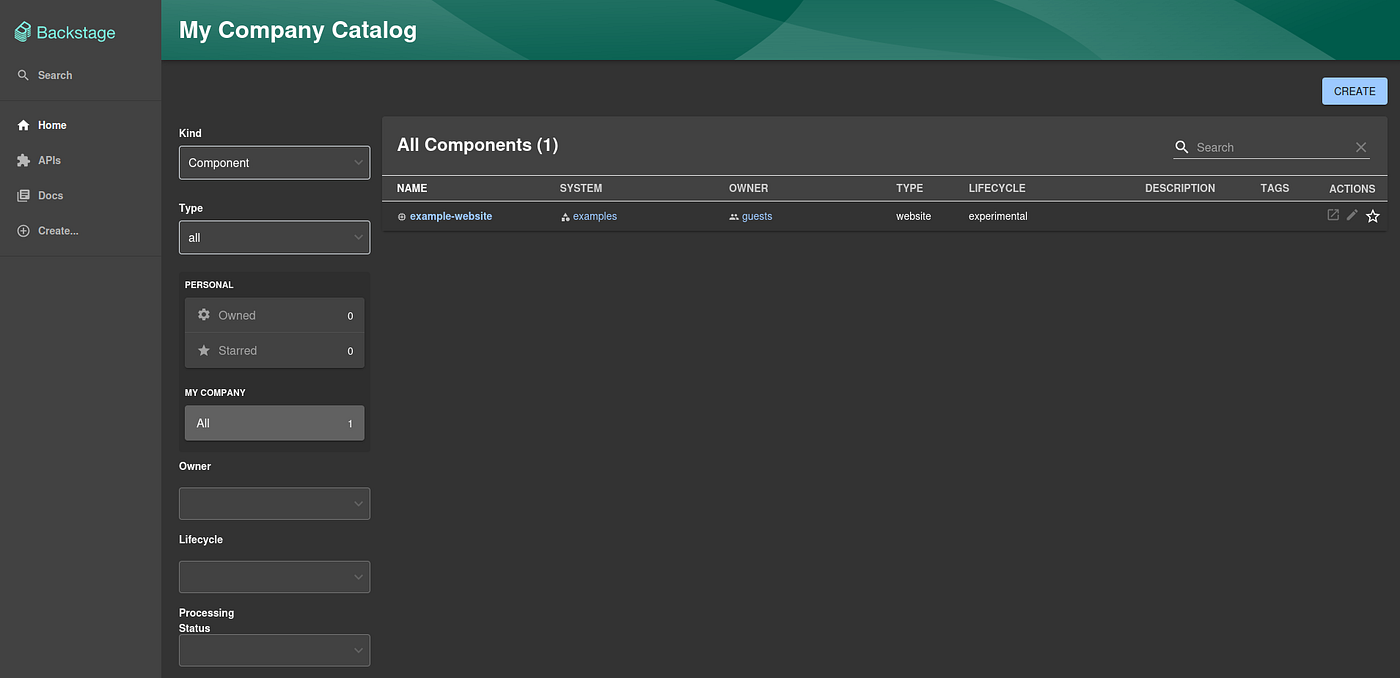
Once it’s up and running, your Backstage application will be accessible at http://localhost:3000.
[app]: <i> [webpack-dev-middleware] wait until bundle finished: /
[app]: webpack compiled successfully
Congratulations on successfully installing Backstage locally!
Wait… Weren’t We Talking About Devbox Scripts?
You’re absolutely right! Let’s use scripts to automate running our application.
Modify your devbox.json like this:
{
  "$schema": "https://raw.githubusercontent.com/jetify-com/devbox/0.13.6/.schema/devbox.schema.json",
  "packages": [
    "yarn-berry@4.4.1",
    "nodejs@18.19.0"
  ],
  "shell": {
    "init_hook": [
      "echo 'Welcome to devbox!' > /dev/null"
    ],
    "scripts": {
      "start": [
        "cd backstage/ ;NODE_OPTIONS='--no-node-snapshot' yarn dev"
      ]
    }
  }
}
Now you can start your Backstage application with a single command:
$ devbox run start
In Part Two, we’ll explore configuration edits and plugin additions to enhance our Backstage application.
Related: A Journey with Backstage: Configuration and GitHub Auth (Part 2)