
In the previous article, we installed and ran our Backstage instance with Devbox. Now let’s dig into the configuration and set up GitHub authentication so we can actually log in to our app!
We left off with a working local Backstage application, accessible at http://localhost:3000.
Missed Part 1?
Related: A Journey with Backstage: One Platform to Rule Them All (Part 1)
Let’s reuse the Devbox environment from the previous article to run Backstage!
$ devbox shell
Read my complete Devbox article!
Related: Streamlining Development Workflows with Devbox: A Technical Dive
Configuration file
When we installed Backstage, three configuration files were created.
$ ls | grep 'app-config'
app-config.local.yaml
app-config.production.yaml
app-config.yaml
These files configure the different environments of your Backstage instance:
- app-config.yaml is the default configuration file. It’s used if no other file is specified.
- app-config.local.yaml is used for local development.
- app-config.production.yaml is used for production.
Let’s take a look at the app-config.yaml file.
Without the commented lines (starting with #), you should have something like this:
# app-config.yaml

app:
  title: Scaffolded Backstage App
  baseUrl: http://localhost:3000

organization:
  name: My Company

backend:
  baseUrl: http://localhost:7007
  listen:
    port: 7007
  csp:
    connect-src: ["'self'", 'http:', 'https:']
  cors:
    origin: http://localhost:3000
    methods: [GET, HEAD, PATCH, POST, PUT, DELETE]
    credentials: true
  database:
    client: better-sqlite3
    connection: ':memory:'

integrations:
  github:
    - host: github.com
      token: ${GITHUB_TOKEN}

proxy:

techdocs:
  builder: 'local'
  generator:
    runIn: 'docker'
  publisher:
    type: 'local'

auth:
  providers:
    guest: {}

scaffolder:

catalog:
  import:
    entityFilename: catalog-info.yaml
    pullRequestBranchName: backstage-integration
  rules:
    - allow: [Component, System, API, Resource, Location]
  locations:
    - type: file
      target: ../../examples/entities.yaml
    - type: file
      target: ../../examples/template/template.yaml
      rules:
        - allow: [Template]
    - type: file
      target: ../../examples/org.yaml
      rules:
        - allow: [User, Group]

kubernetes:

permission:
  enabled: true
Let’s go through the different sections of the configuration file.
- app:
Configures the title and the base URL. - organization:
Configures the name of our organization. - backend:
Configures the authentication, the base URL, the port, the Content-Security-Policy, the CORS settings, and the database. - integrations:
Used to configure integrations; for example, we’ll set up the GitHub integration soon. - proxy:
Configures a proxy endpoint for the frontend. We won’t cover that section here. - techdocs:
Configures Backstage’s TechDocs feature! Of course, we’ll talk about it in a future article. - auth:
Configures the authentication providers. We’ll use GitHub as our authentication provider. - scaffolder:
Magic happens here! We’ll use the scaffolder to create a new plugin. - catalog:
Configures the Backstage catalog, though we’ll use GitHub discovery for ours later. - kubernetes:
Kubernetes-related features, which we won’t cover here. - permission:
Backstage permissions, which we won’t cover here.
Basic configuration
Let’s configure a few of these sections: app, organization, backend, integrations, and auth.
First, let’s configure the app section and change the title and the baseUrl.
# app-config.yaml

app:
  title: My Medium Backstage
  baseUrl: http://localhost:3000
Then, let’s configure the organization section and change the name of the organization.
# app-config.yaml

organization:
  name: My Medium Company
Now, let’s configure the backend section and change the baseUrl, the port, and the database. We’ll cover the GitHub integration in the next section; normally, you shouldn’t need to touch anything else here.
# app-config.yaml

backend:
  baseUrl: http://localhost:7007
  listen:
    port: 7007
  csp:
    connect-src: ["'self'", 'http:', 'https:']
  cors:
    origin: http://localhost:3000
    methods: [GET, HEAD, PATCH, POST, PUT, DELETE]
    credentials: true
  database:
    client: better-sqlite3
    connection: ':memory:'
There are two options for the database client, better-sqlite3 and PostgreSQL. We will use better-sqlite3 for now.
GitHub Integration
Now, let’s configure the integrations section and add GitHub!
Following Backstage’s documentation, go to this page to create your OAuth App.
The “Homepage URL” should point to Backstage’s frontend, which in this article would be http://localhost:3000.
The “Authorization callback URL” should point to the auth backend, which will most likely be http://localhost:7007/api/auth/github/handler/frame.
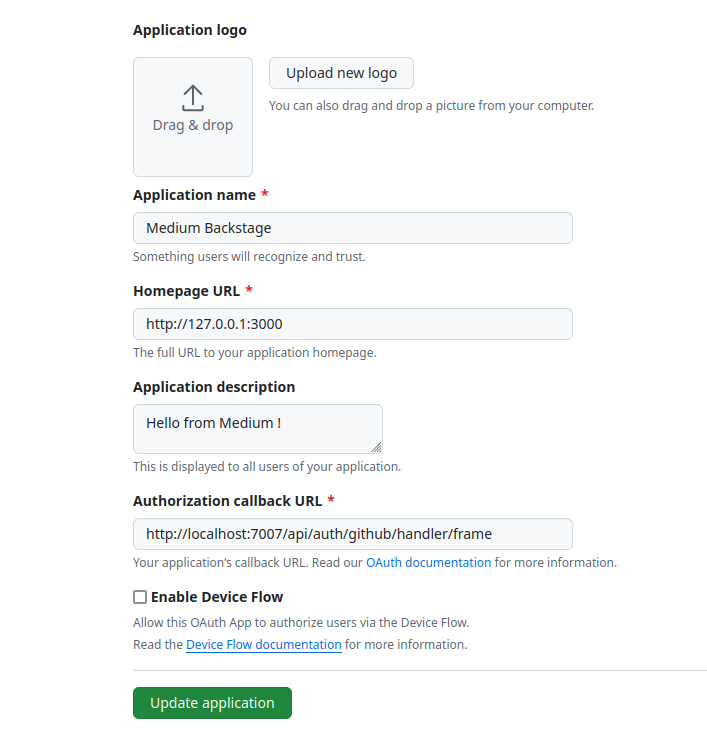
Now let’s add that information to our configuration file. Generate a client secret and copy your Client ID.
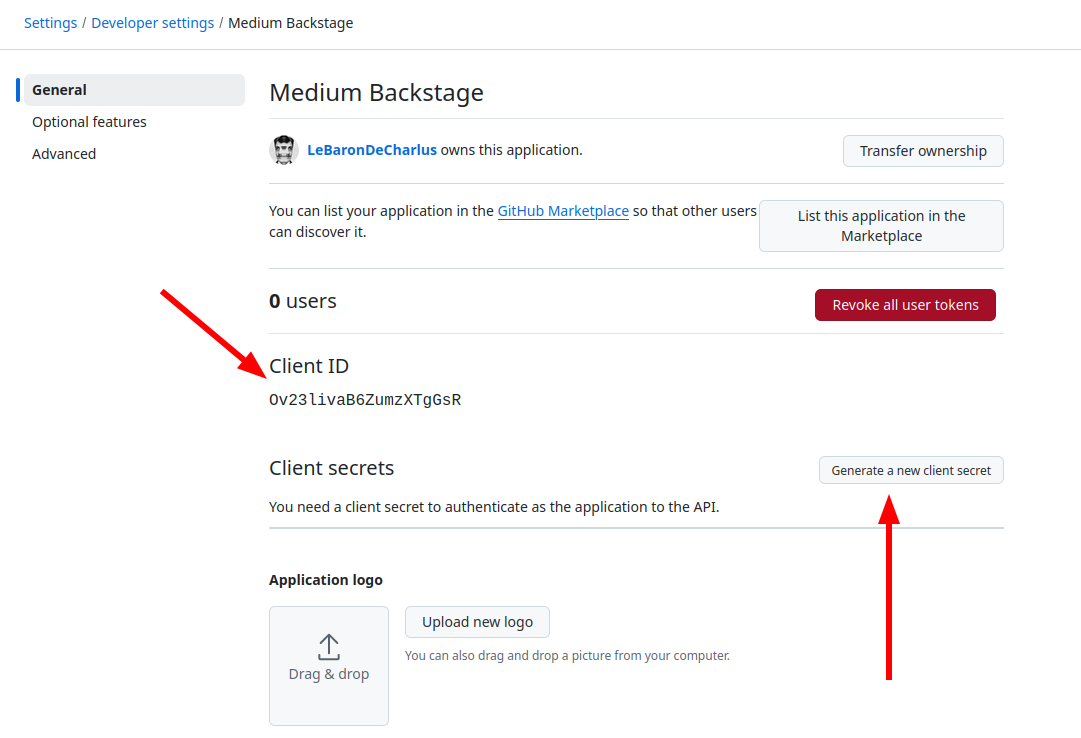
The config file:
# app-config.yaml

auth:
  environment: development
  providers:
    github:
      development:
        clientId: CLIENT_ID
        clientSecret: CLIENT_SECRET
        signIn:
          resolvers:
            - resolver: usernameMatchingUserEntityName
Looks great, right? …Right?
Unfortunately, it won’t work until we enable it in the code. Don’t worry though, it’s not complicated!
Add a sign-in option to the frontend
We’ll need to modify the app packages, starting with the packages/app/src/App.tsx file.
Add an import at the top of the file.
# packages/app/src/App.tsx

import { githubAuthApiRef } from '@backstage/core-plugin-api';
Then, find const app = createApp({ in this file, and add the following below apis:
# packages/app/src/App.tsx

  components: {
    SignInPage: props => (
      <SignInPage
        {...props}
        auto
        provider={{
          id: 'github-auth-provider',
          title: 'GitHub',
          message: 'Sign in using GitHub',
          apiRef: githubAuthApiRef,
        }}
      />
    ),
  },
Resolvers
The last thing we need to do is add a resolver to the auth configuration. This resolver will match the GitHub username with the Backstage user entity name.
In your app-config.yaml file, add this in your auth block.
# app-config.yaml

auth:
  environment: development
  providers:
    guest: {}
    github:
      development:
        clientId: YOUR CLIENT ID
        clientSecret: YOUR CLIENT SECRET
        signIn:
          resolvers:
            - resolver: usernameMatchingUserEntityName
There are three resolvers available:
- emailMatchingUserEntityProfileEmail:
Matches the email address from the auth provider with the User entity that has a matchingspec.profile.email. If no match is found, it throws aNotFoundError. - emailLocalPartMatchingUserEntityName:
Matches the local part of the email address from the auth provider with the User entity that has a matching name. If no match is found, it throws aNotFoundError. - usernameMatchingUserEntityName:
Matches the username from the auth provider with the User entity that has a matching name. If no match is found, it throws aNotFoundError.
Backend configuration
Still in your Backstage folder, run:
yarn --cwd packages/backend add @backstage/plugin-auth-backend-module-github-provider
Then, modify packages/backend/src/index.ts and add this line below the other backend.add line.
# packages/backend/src/index.ts

backend.add(import('@backstage/plugin-auth-backend-module-github-provider'));
Add your user
Let’s add our GitHub user to the Backstage configuration so it’s allowed to connect.
To do that, modify the file /examples/org.yaml and add this at the end.
---
apiVersion: backstage.io/v1alpha1
kind: User
metadata:
  name: YOUR_GITHUB_USERNAME
spec:
  memberOf: [guests]
You can append other users the same way by copying and pasting this block.
Try it!
That should be enough. Let’s start our Backstage instance and see if it worked!
devbox run start
Let’s head to our instance at http://127.0.0.1:3000!
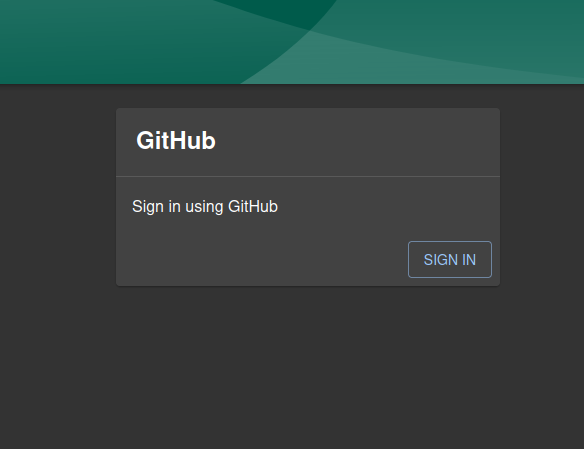
Allow access,
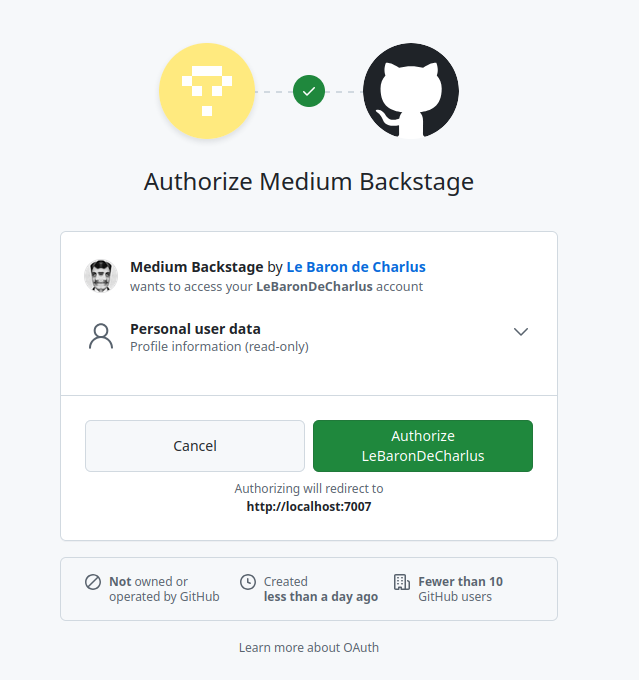
We did it!
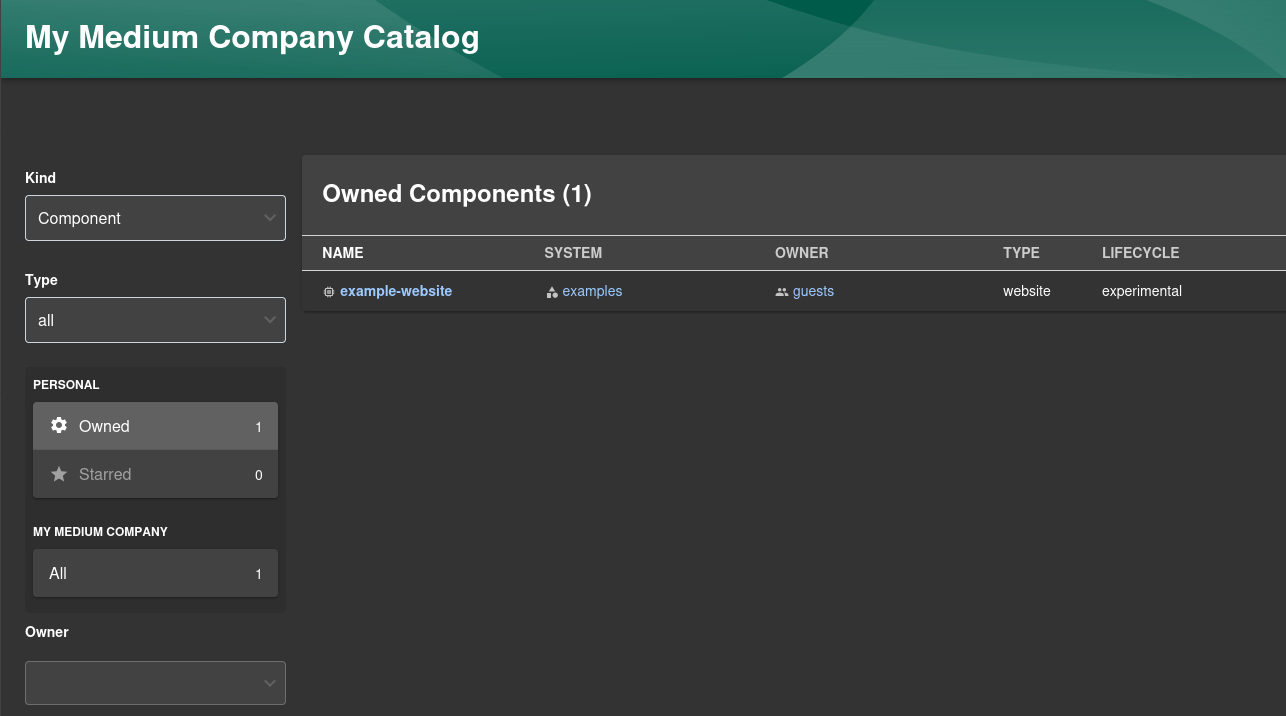
Stay tuned for Part Three, where we’ll configure GitHub auto-discovery so our repositories get imported automatically.